




Activity Instruction Page
💡 Tip: When the print window opens, change the destination dropdown to ‘Save as PDF‘ to download this guide.
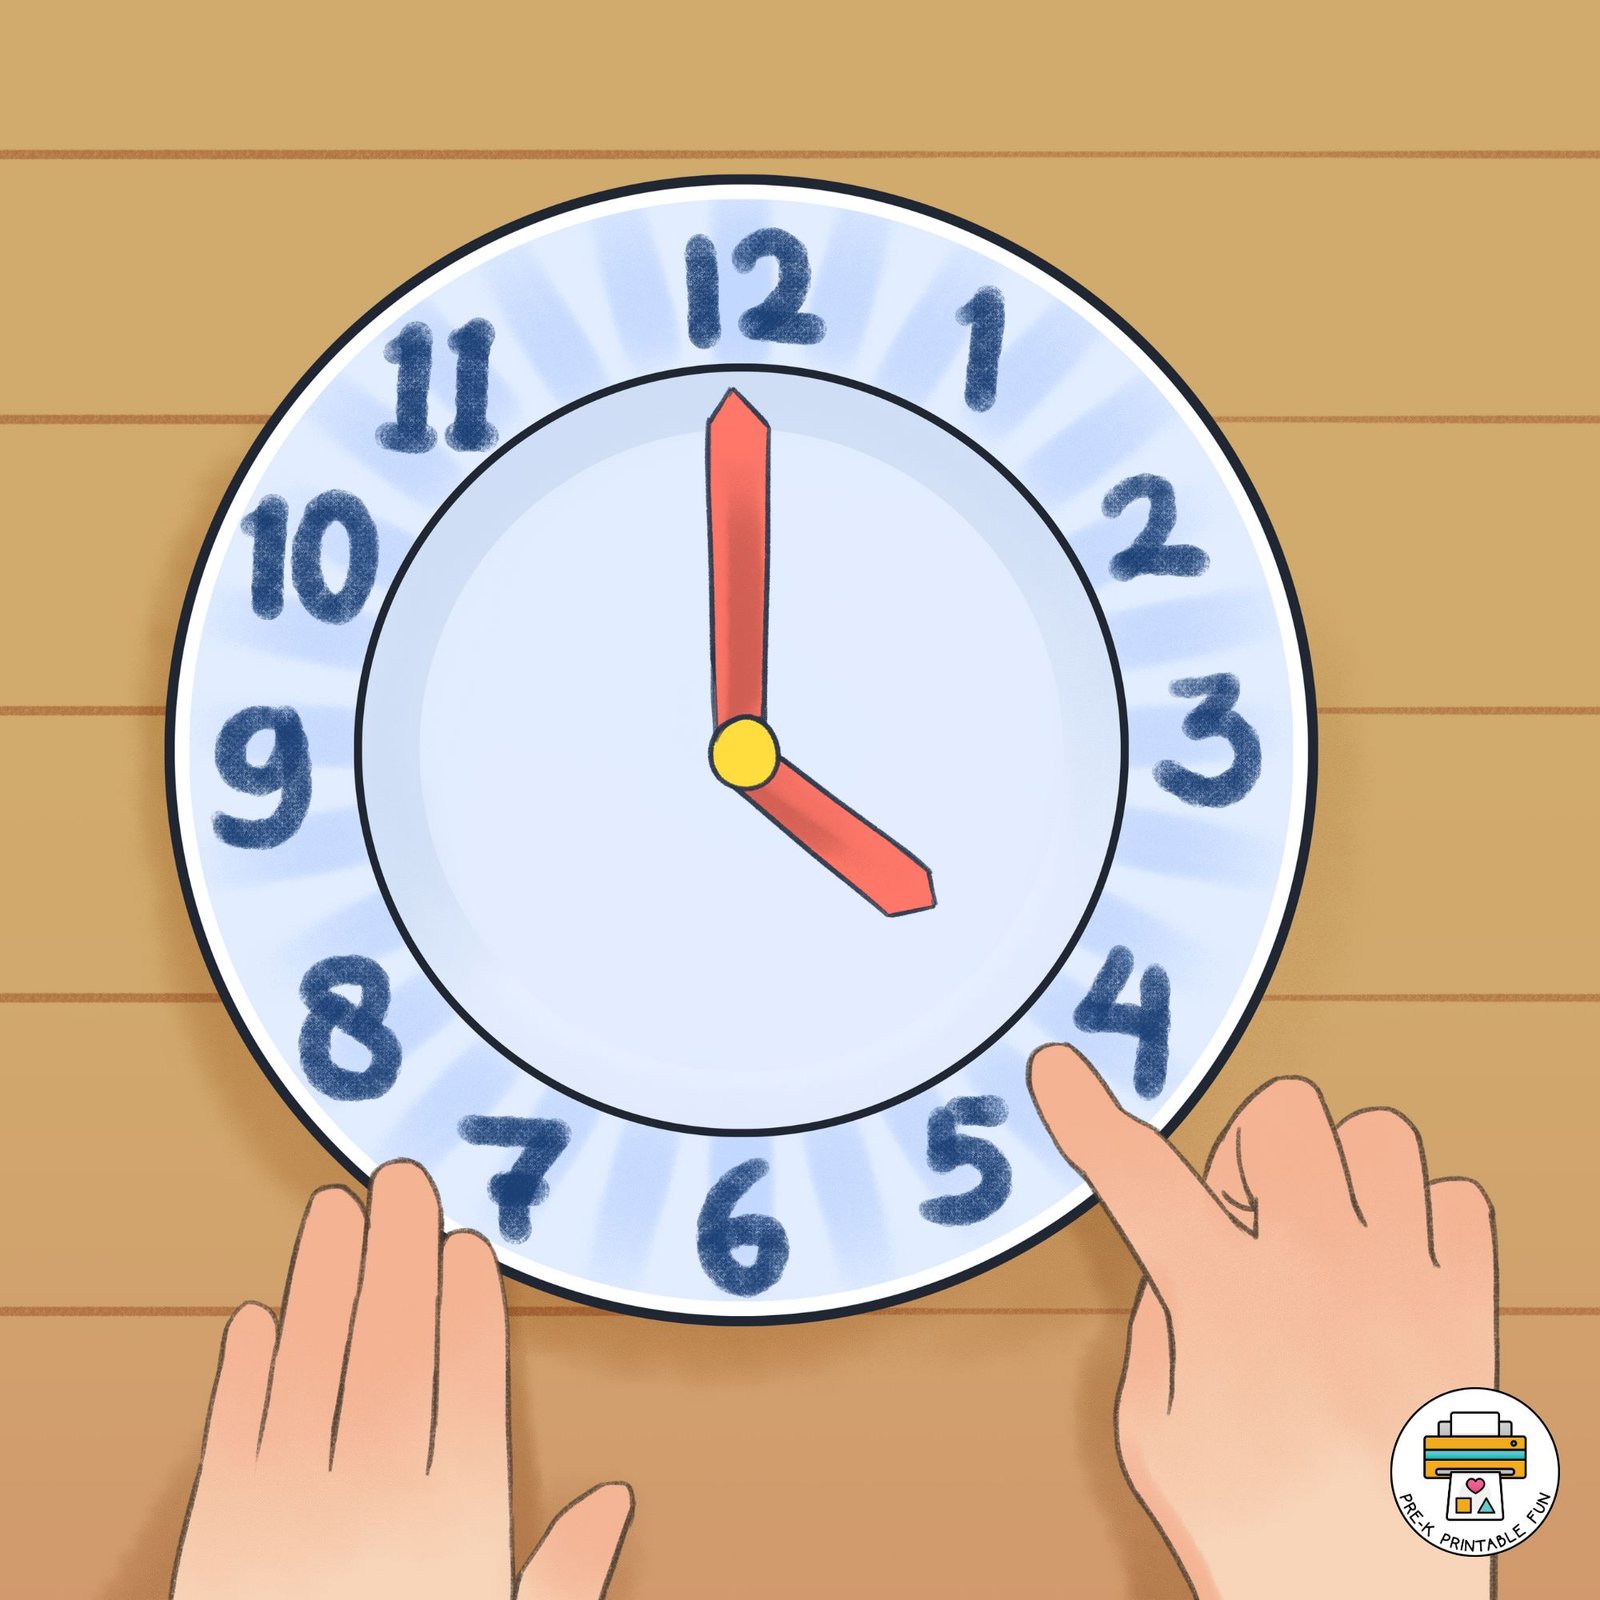
Make a Paper Plate Clock
- Activity Type: Hands-On Activity
- Theme: New Years Eve, Nursery Rhymes, Season: Winter
- Learning Center: Math Center
In this activity, children create their own paper clocks using a paper plate and cardstock. As they write numbers, cut out clock hands, and attach them with a brad, they build fine motor skills and practice number sequencing. Once their clocks are assembled, children can move the hands to explore how time works and begin learning basic time-telling skills in a fun, hands-on way.
Materials & Direction
Materials List:
– Paper plates
– Markers or crayons
– Card stock
– Scissors
– Brad pin
Preschool Learning Objectives:
– Develop fine motor skills through cutting and coloring
– Learn about telling time and understanding the concept of time
– Practice number recognition and sequencing
Preschool Teacher Instructions:
1. Begin by explaining to the children that they will be making their own paper clock.
2. Give each child a paper plate and have them write the numbers 1-12 around the edge of the plate in order.
3. Have the children cut out two arrows from the card stock – a shorter one for the hour hand and a longer one for the minute hand.
4. Use the brad pin to attach the two arrows to the center of the paper plate, allowing them to move freely.
5. Encourage the children to practice moving the hands of the clock to different times and having them identify the corresponding numbers.
6. Discuss with the children the concept of time and introduce them to basic time-telling skills.
Teacher Tips for Differentiated Instruction:
– Provide additional support for children who may have difficulty cutting or writing numbers by offering pre-cut arrows or tracing the numbers for them to follow.
– For children who are more advanced, challenge them to create their own clock design or to practice telling time to the nearest five minutes.
Assessment:
Observe the children as they create their paper clocks to assess their fine motor skills. During activities where they practice moving the hands of the clock to different times, assess their understanding of number sequencing and telling time. You can also ask them verbal questions to see if they can identify certain numbers on the clock.
