




Activity Instruction Page
💡 Tip: When the print window opens, change the destination dropdown to ‘Save as PDF‘ to download this guide.
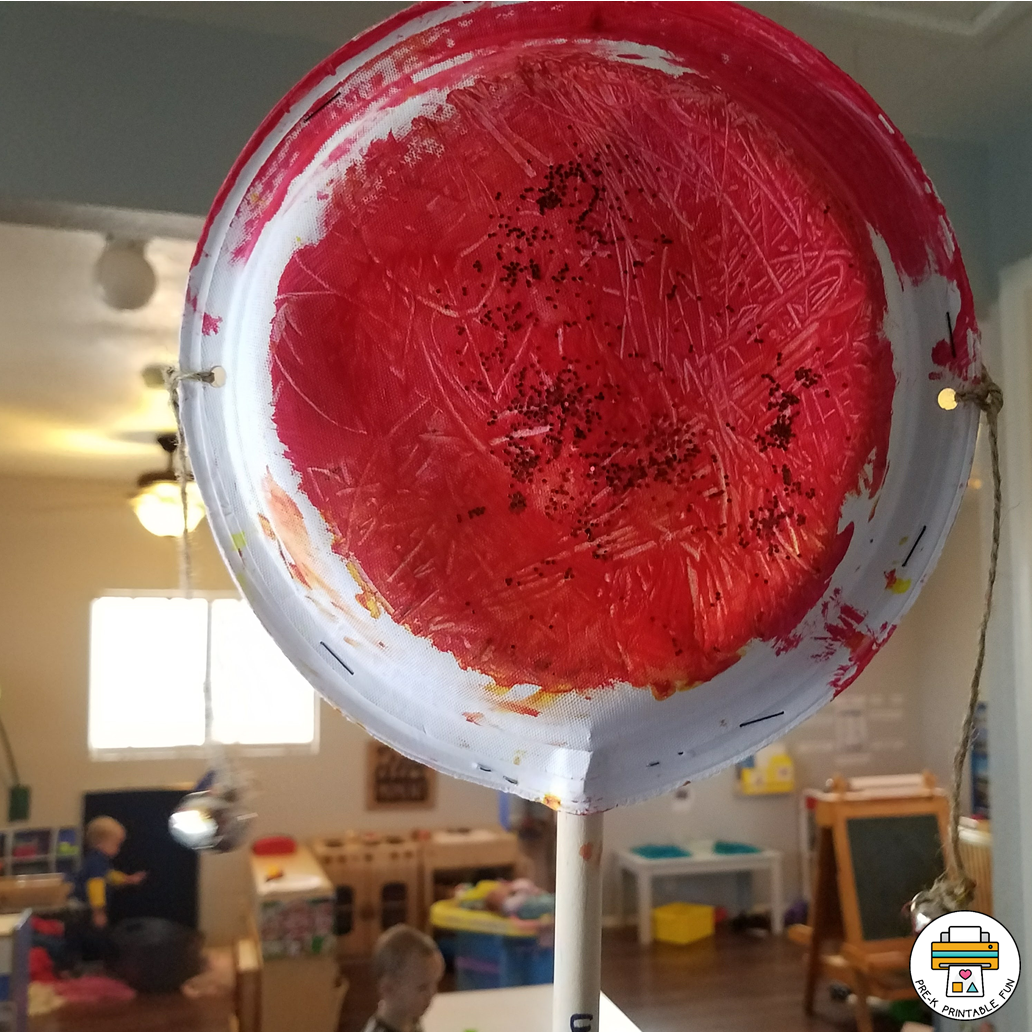
Rattle Drum Craft
- Activity Type: Hands-On Activity
- Theme: Around the World
- Learning Center: Art Center
Create a fun and engaging learning experience for your preschoolers with our Rattle Drum Craft! This hands-on activity is perfect for developing motor skills and introducing rhythm. Let your little ones experience the joy of music while having a blast!
Materials & Direction
Materials List:
– white paper plate (any size will work)
– hole puncher
– string
– bells
– paint & brush
– craft stick or wooden dowel
Preschool Learning Objectives:
1. Develop fine motor skills by cutting, taping, and decorating the rattle drum.
2. Introduce the concept of rhythm by shaking the rattle drum to create sounds.
3. Encourage creativity through decorating the rattle drum with different materials.
4. Promote sensory exploration by listening to the sounds created by the rattle drum.
Teacher Instructions:
1. Start by punching holes on both sides of the plate. Layer the plates together to punch holes through both at once so the holes match up.
2. Break out the brushes and paint colors of your choice to decorate the drums. Paint the bottom of each plate.
3. Optional – Encourage the children to decorate their rattle drums using stickers, markers, paint, glitter, or any other decorative materials provided.
4. Once the paint and decorations are dry, it is time to add the bells. Place your plates together so the inside of the plates are touching and both decorated sides are on the outside. Tape or staple them together for stability; be sure to line up your holes before you secure them.
5. Slip your string through the bell and tie a knot. then loop the string through both plates and tie. **Note: the length of the string will depend on the size of plates you are using. The string should reach almost to the center of the plates once tied on.
6. Slip in a wooden dowel or craft stick and secure. If you are using a dowel you will want to do this step before attaching your plates together.
7. Encourage the children to experiment with different ways of shaking the rattle drums to create varying sounds.
8. Allow the children to share their rattle drums with their classmates and have a mini music session where they can play along with their drums.
9. Offer praise and positive reinforcement for their creativity and musical exploration.
Teacher Tips for Differentiated Instruction:
– Offer a variety of decorative materials to cater to different interests and preferences. Some children may enjoy using stickers, while others may prefer painting or coloring.
– Encourage children who may be more advanced to explore different rhythm patterns and create their own mini music compositions with their rattle drums.
– Provide opportunities for children to work in pairs or small groups to collaborate on decorating and playing with the rattle drums, promoting social interaction and cooperation.
